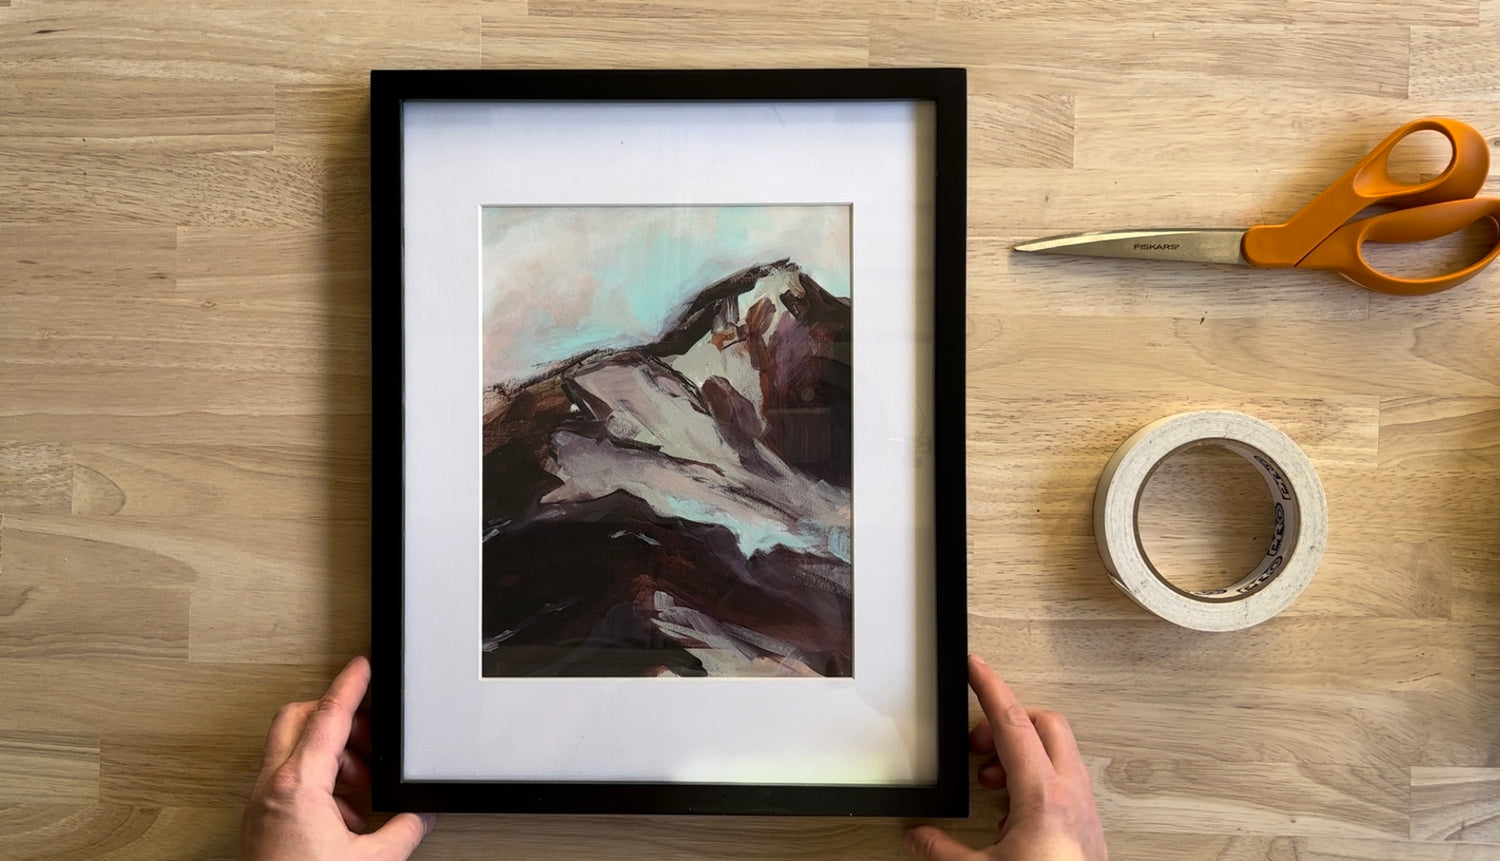
Framing Tutorial: Matted with Glass
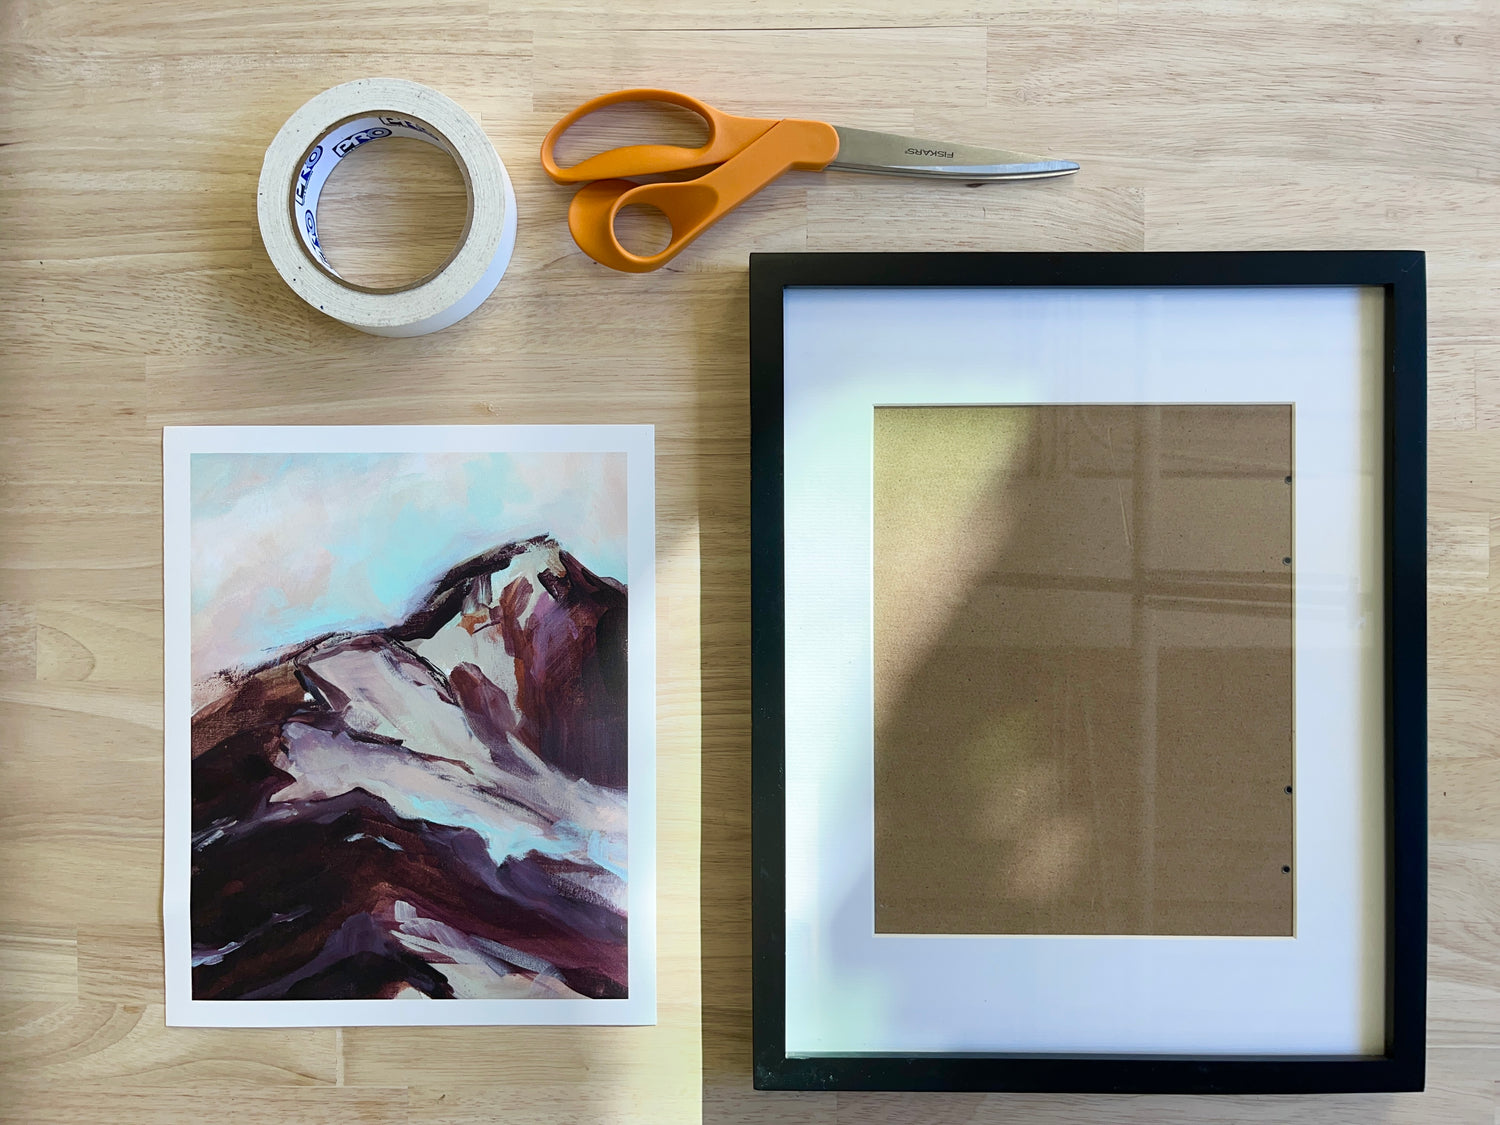
What you'll need
- Frame (11x14" with 8x10" opening shown)
- Acid-free framing tape
- Scissors (for cutting tape)
- Print (8x10" paper print with 1/2" borders shown)
- Clean surface and clean hands
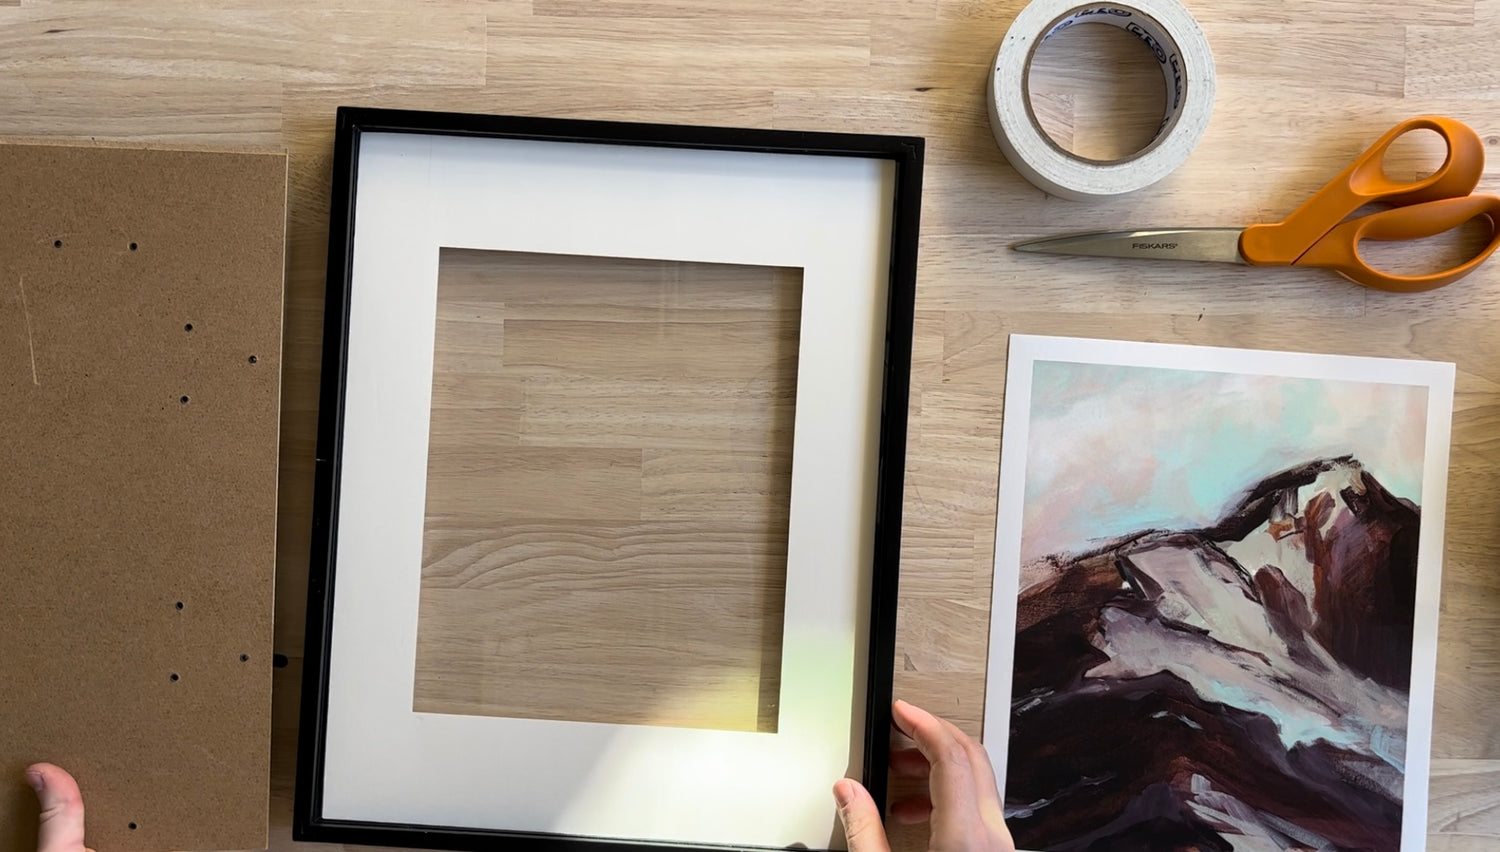
Step 1
Remove the backing board from the frame.
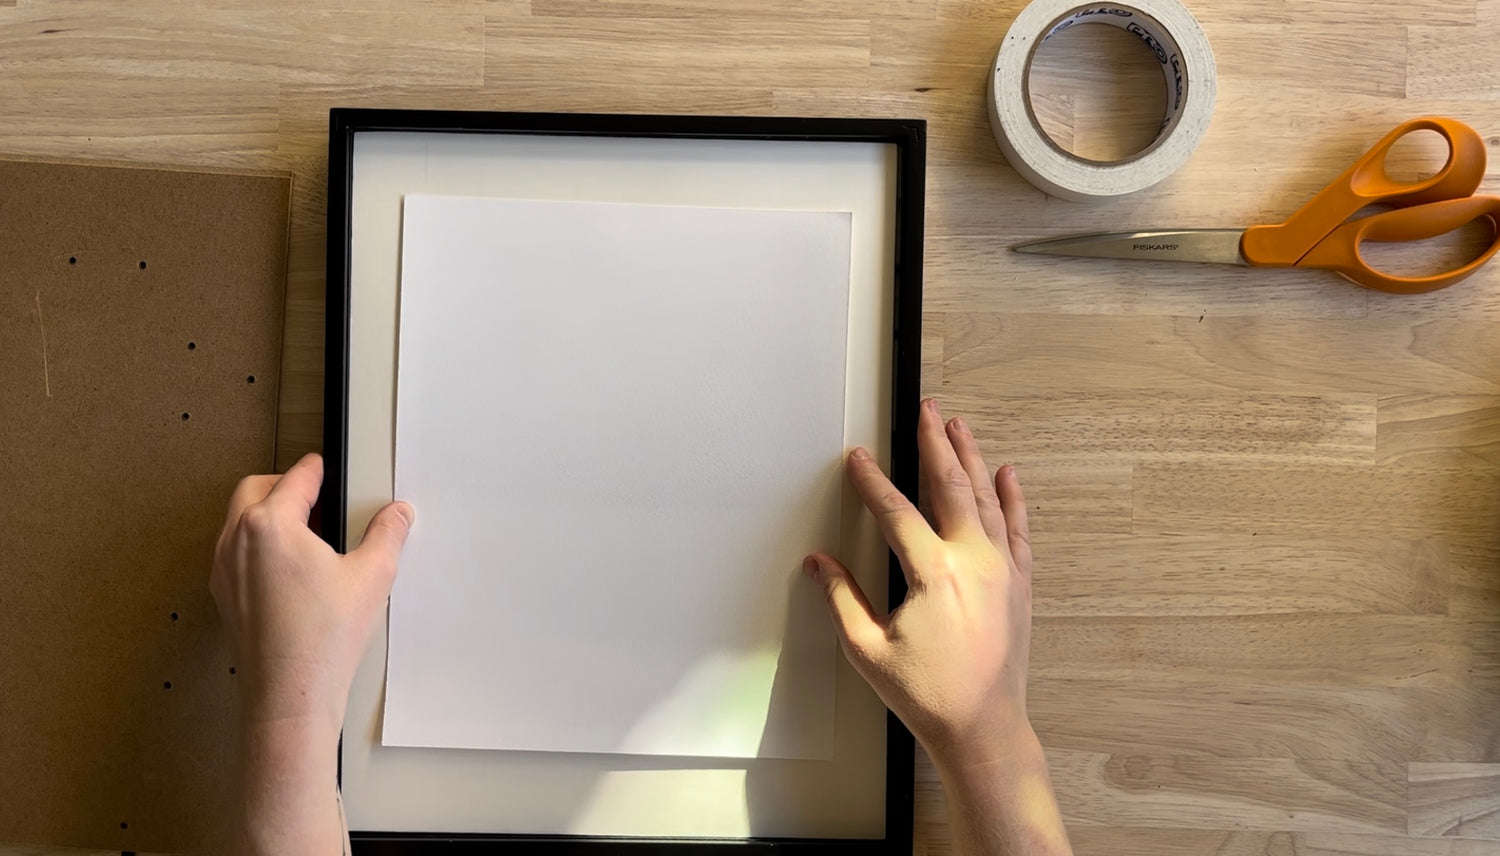
Step 2
Align the print within the mat opening.
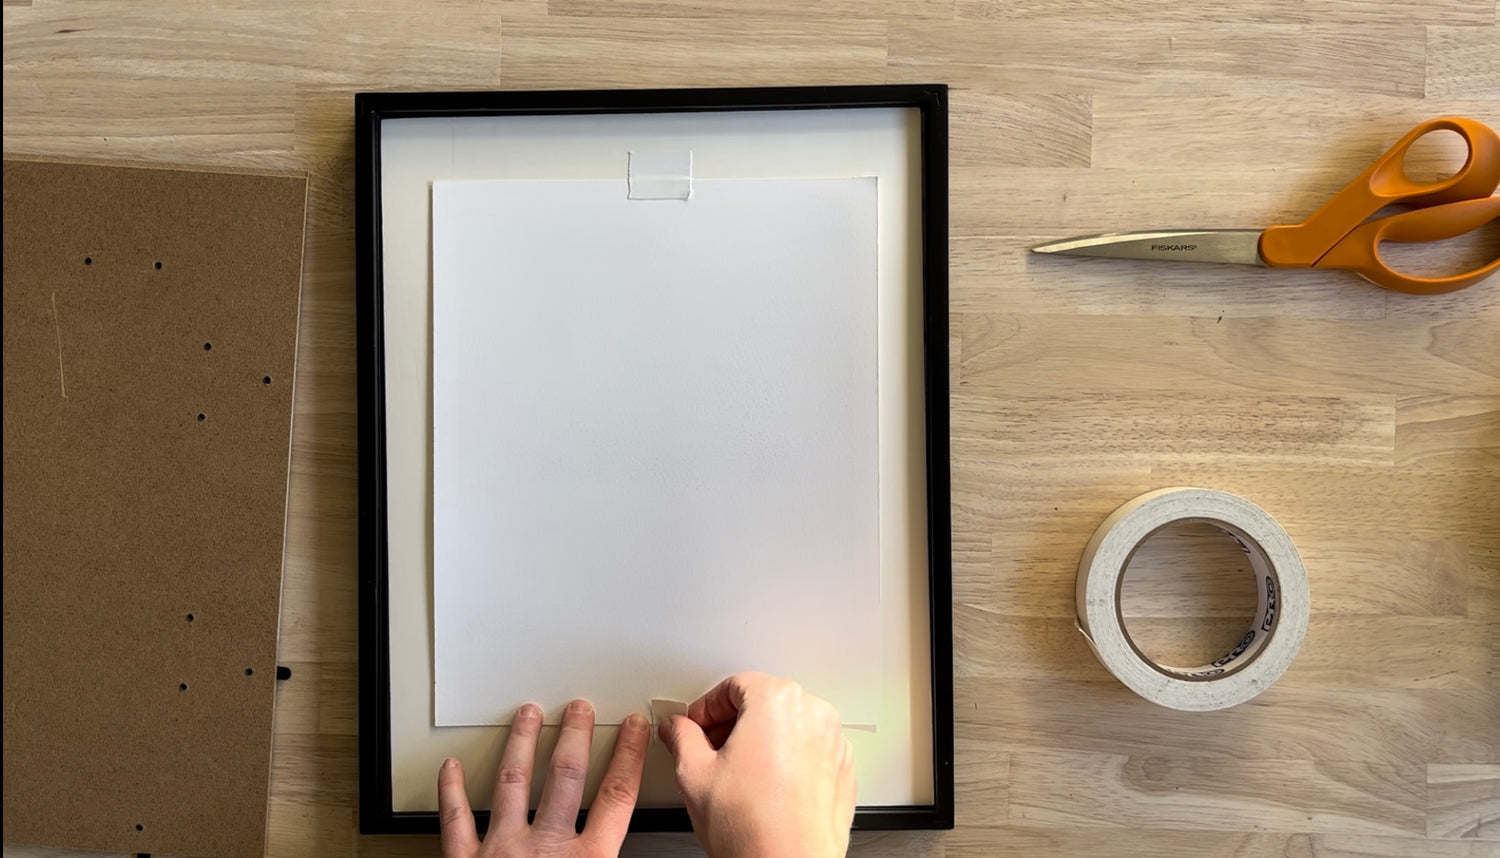
Step 3
Apply a small piece of tape or hold the print in place to check the alignment before completely taping the print in place.
Step 4
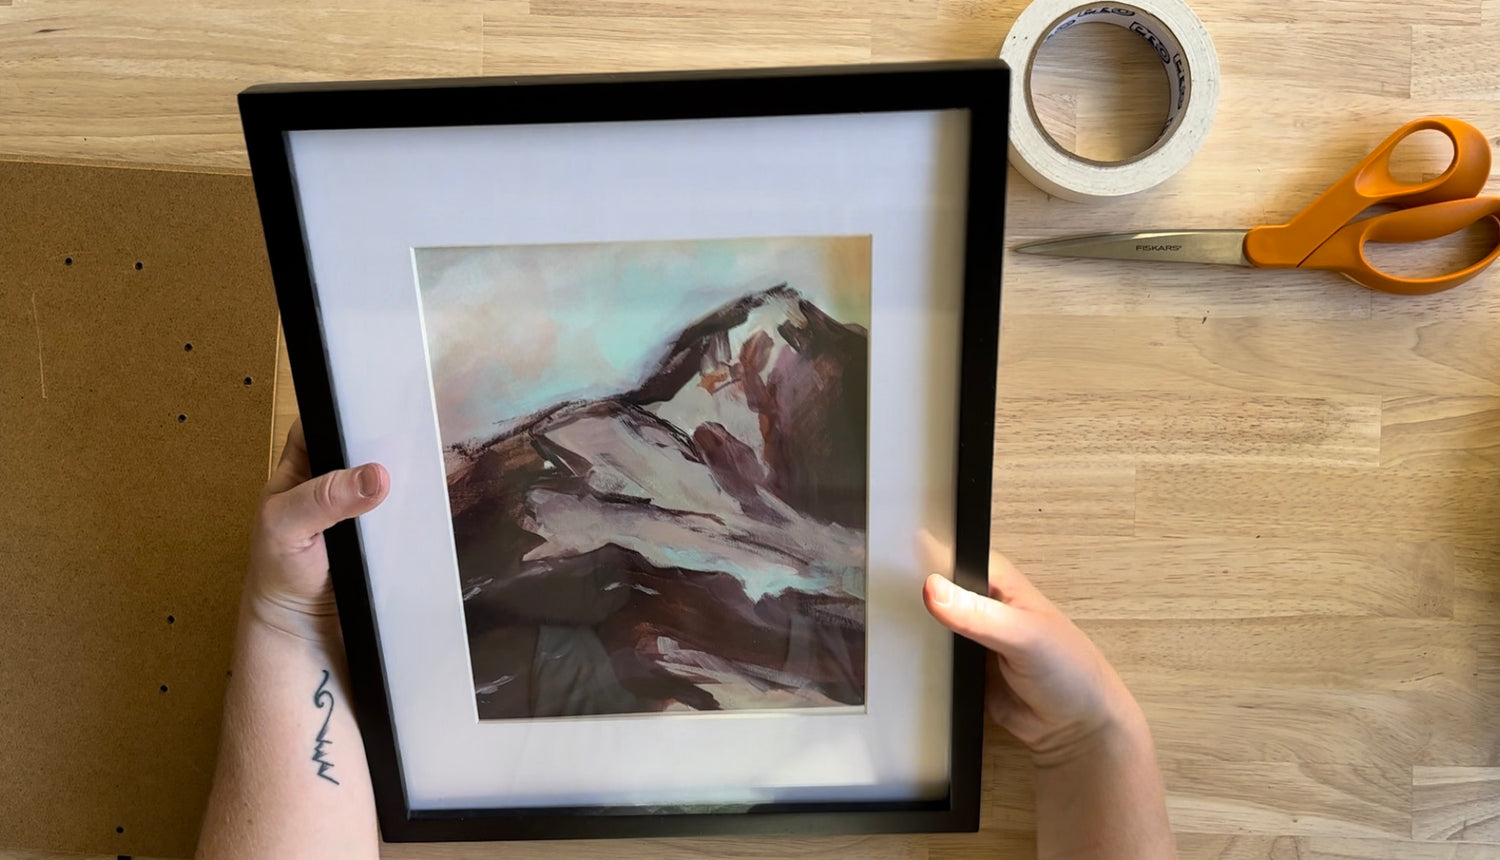
Hold the print in place and flip the whole thing over to check the placement, ensuring that there are no white edges showing in the mat opening.
Carefully readjust the placement of the print if necessary.
Step 5
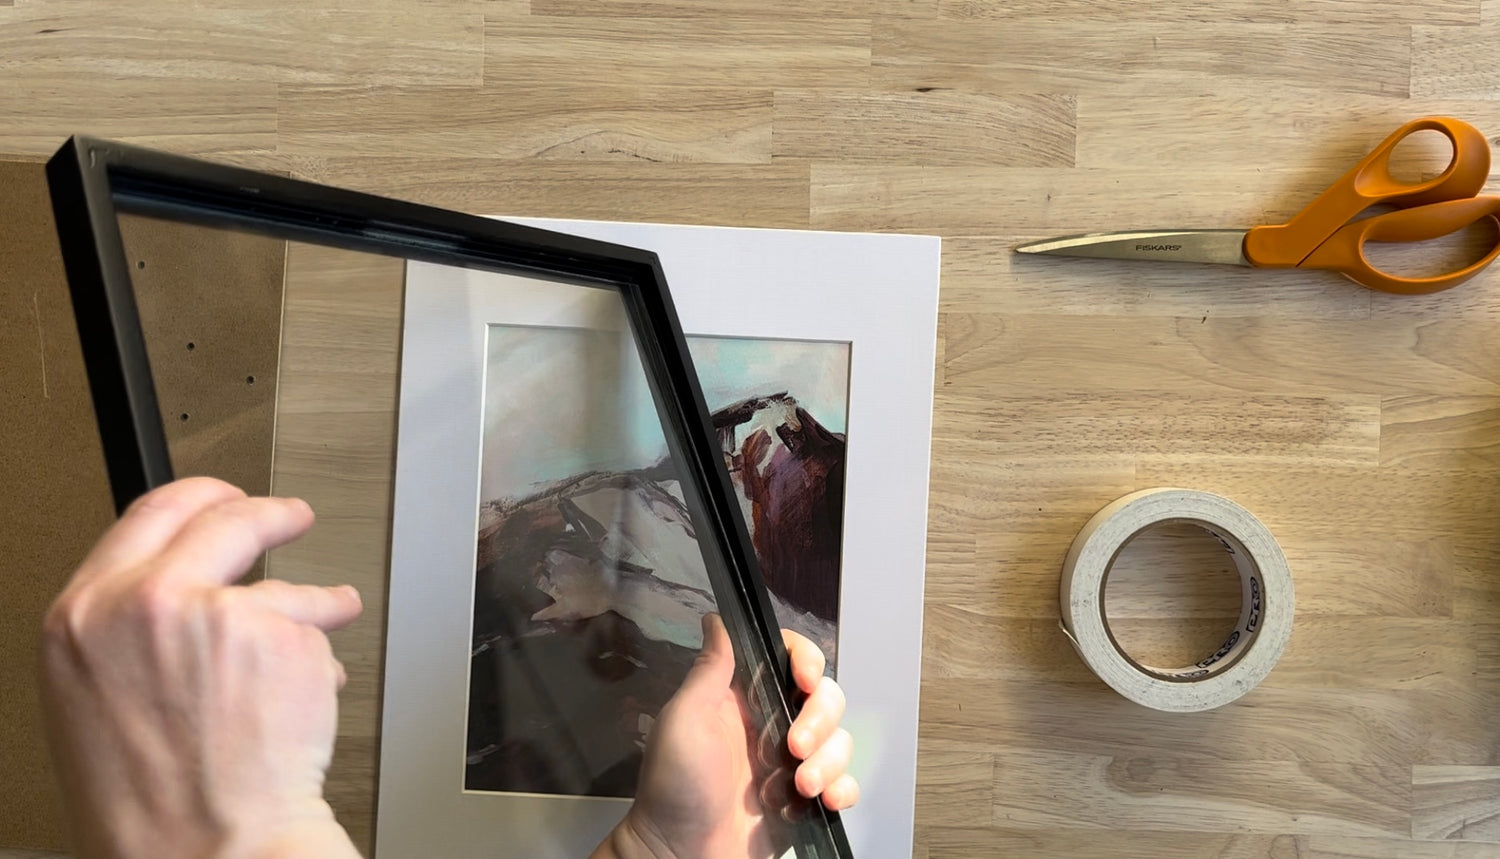
Inspect the glass to ensure there are no dust particles, and remove them with a microfiber cloth if necessary.
Step 6
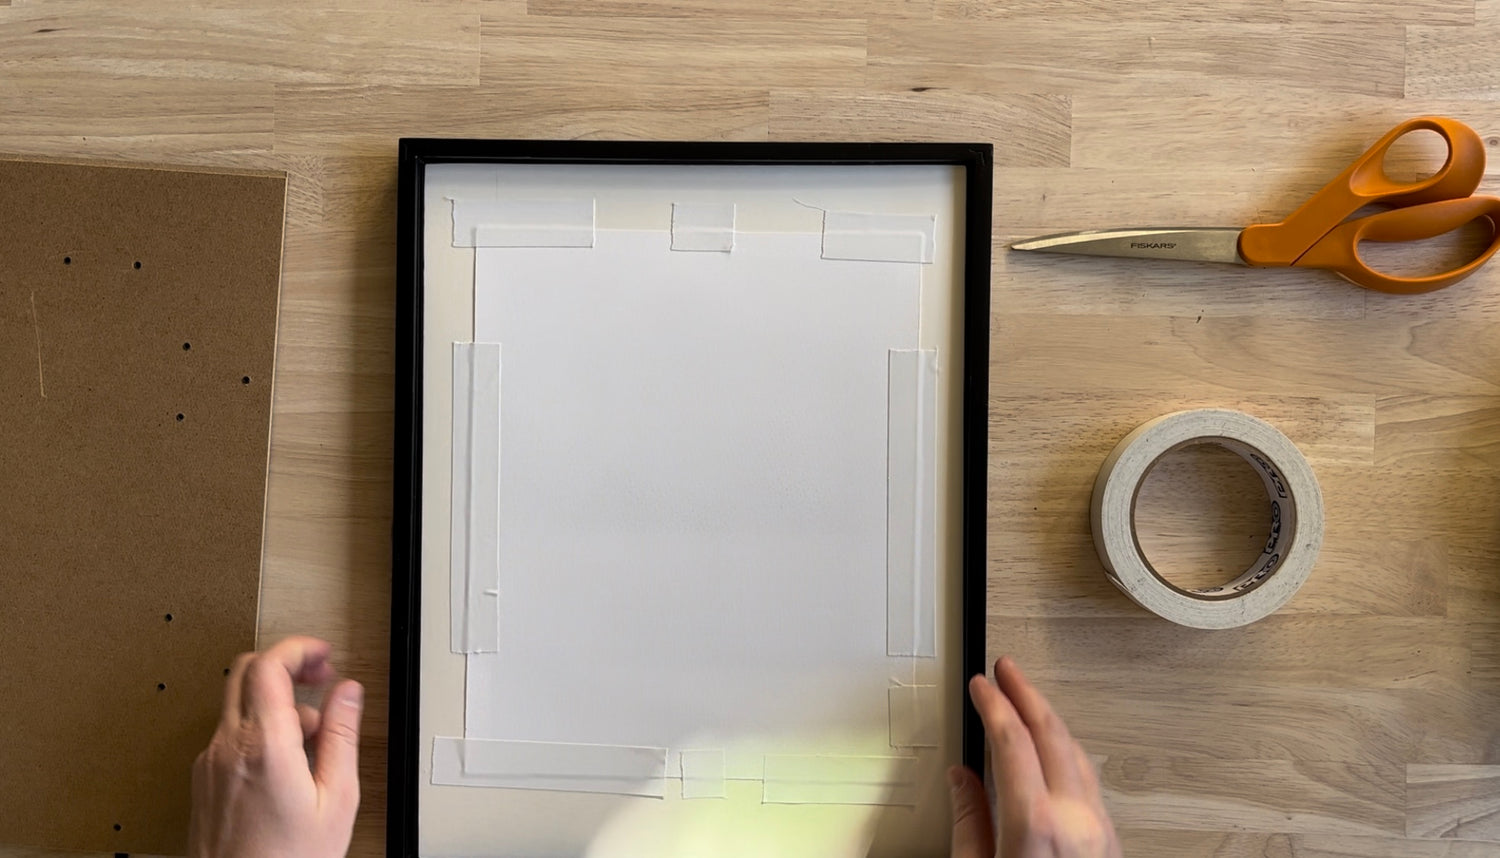
Tape all edges of the print to the mat, ensuring a snug fit all the way around without any "bubbles" along the edges. Carefully readjust tape if necessary so that the print lays completely flat.
Step 7
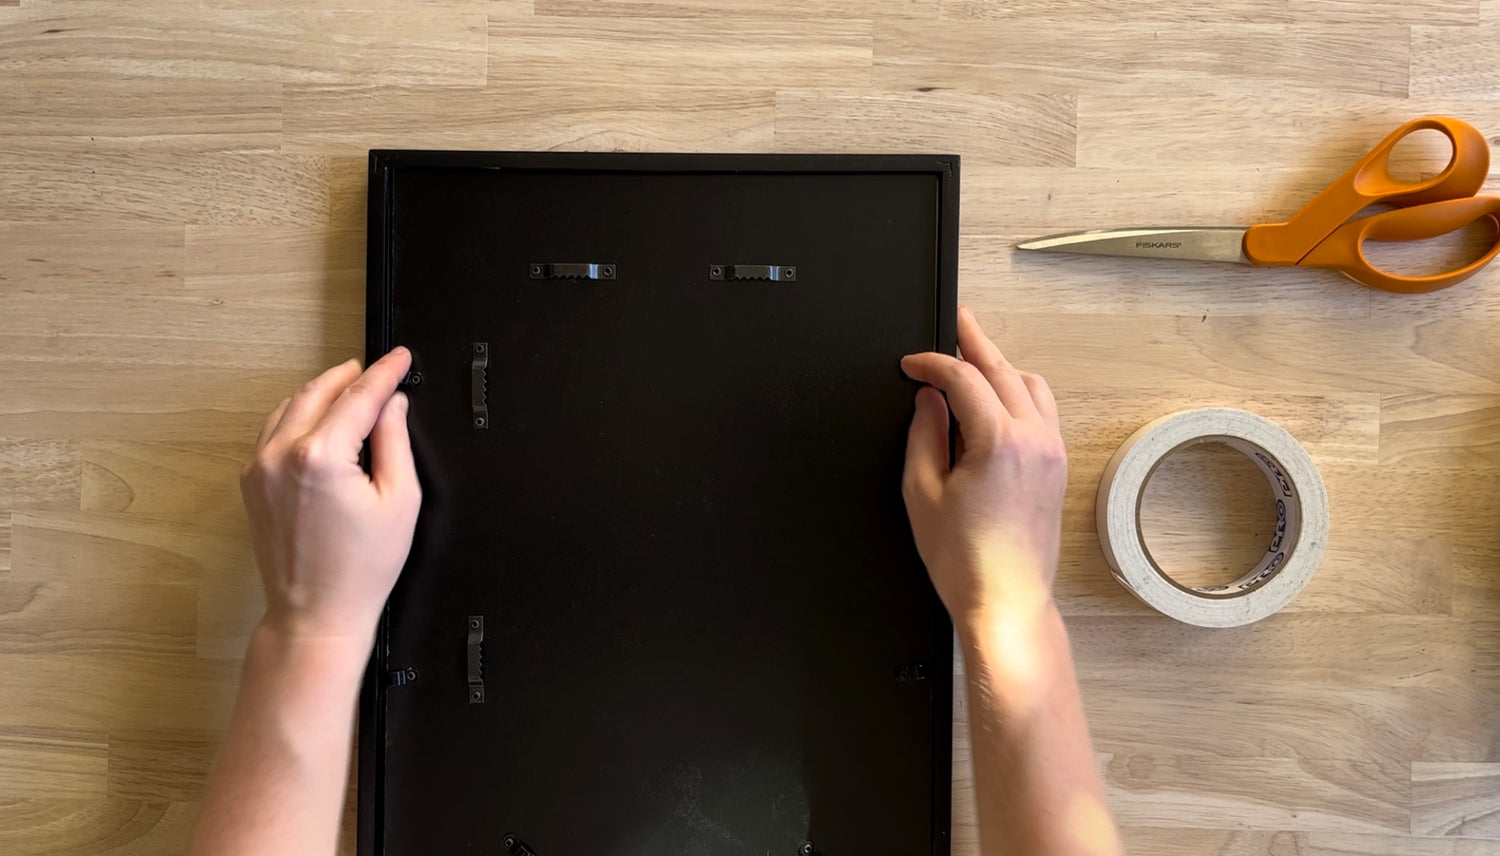
Replace the backing board.
Step 8
Ta Da! You now have a framed and matted print!
