Framing Tutorial: Unmatted without Glass
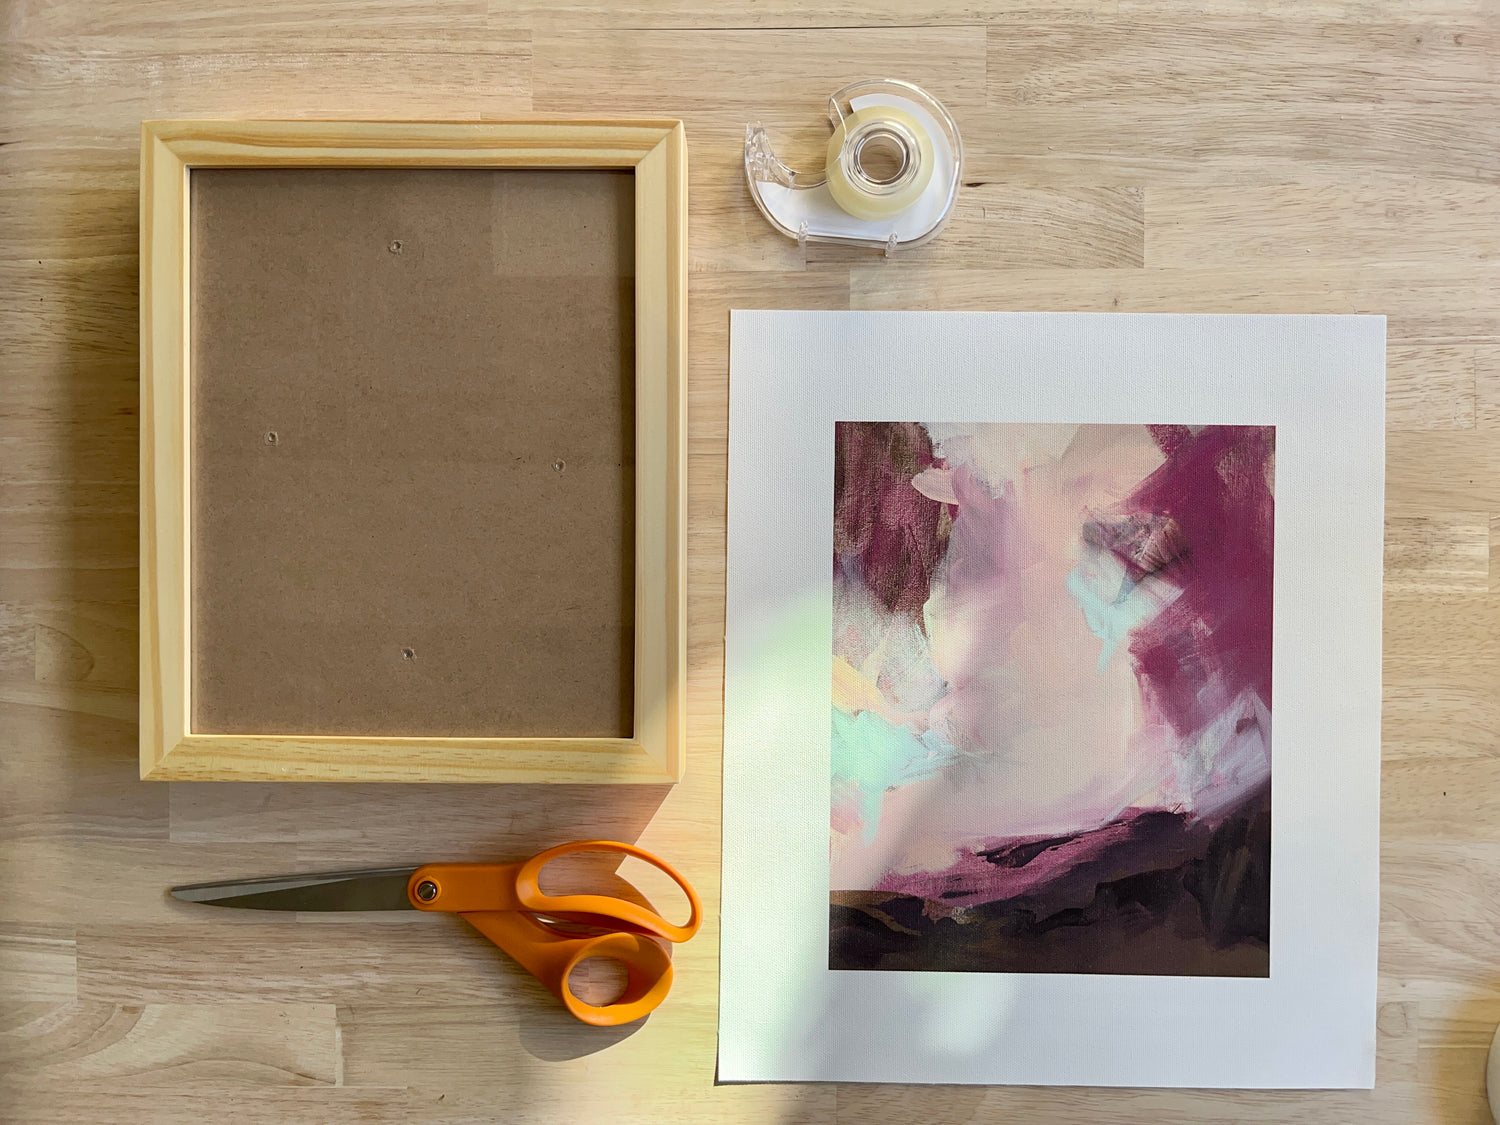
What you'll need
- Frame (8x10 shown)
- Scissors (preferably fabric scissors), if your print comes with a border
- Acid-free double-sided tape
- Print (8x10" canvas print with 2" borders shown)
- Clean surface and clean hands
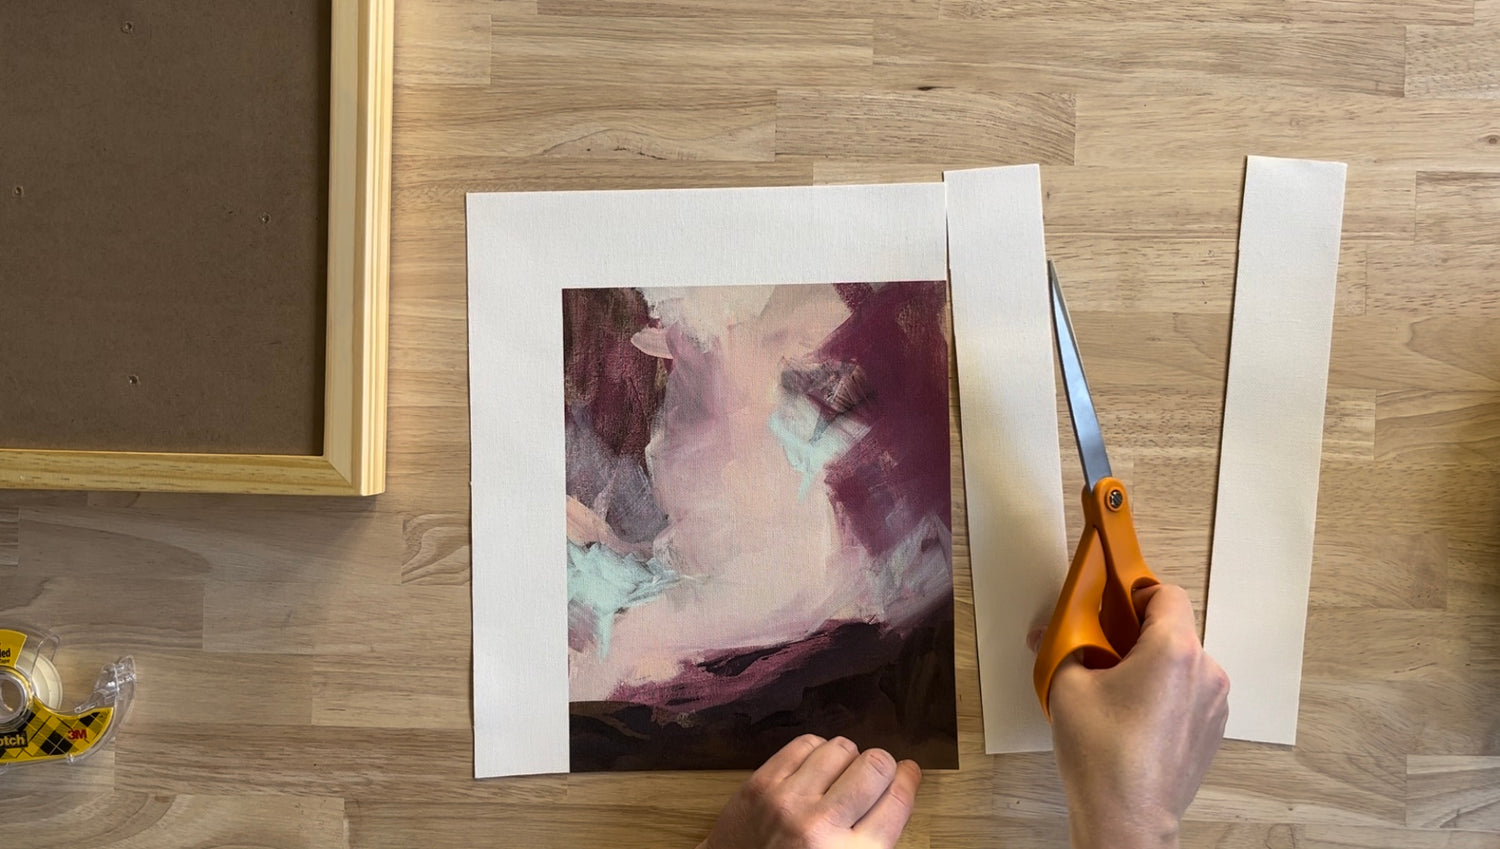
Step 1
Carefully trim the border off the print. Skip this step if your print comes borderless.
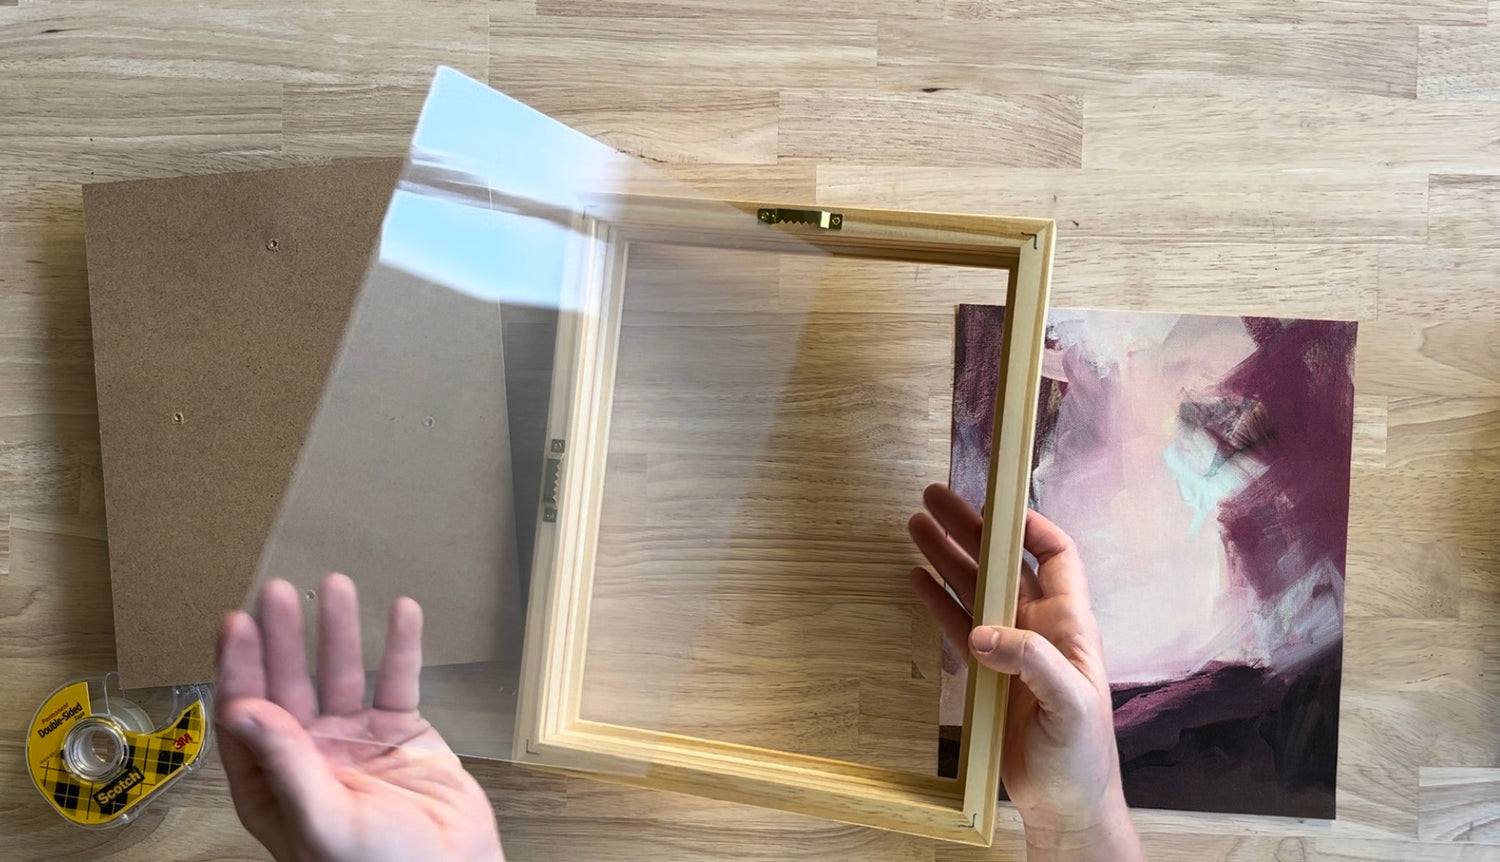
Step 2
Very carefully take the glass out of the frame and responsibly store or recycle it.
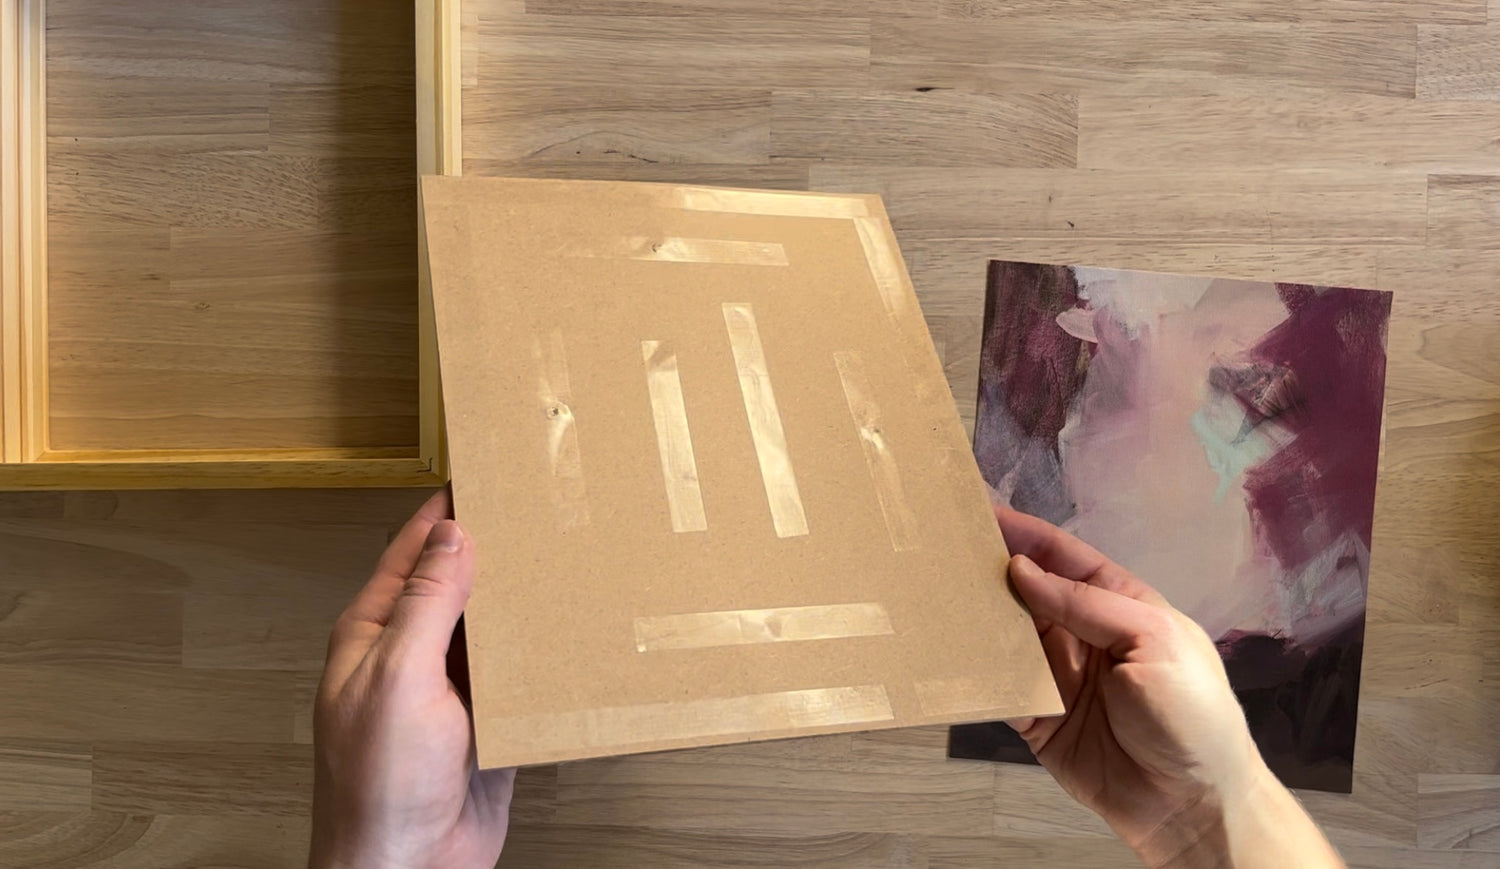
Step 3
Apply the acid-free double-sided tape to the front of the frame's backing board. Adequately cover all sides and the middle so that the print doesn't "bubble" once adhered.
Please keep in mind that this is a DIY way to mount a print. A more permanent mount can be achieved with the help of your local frame shop.
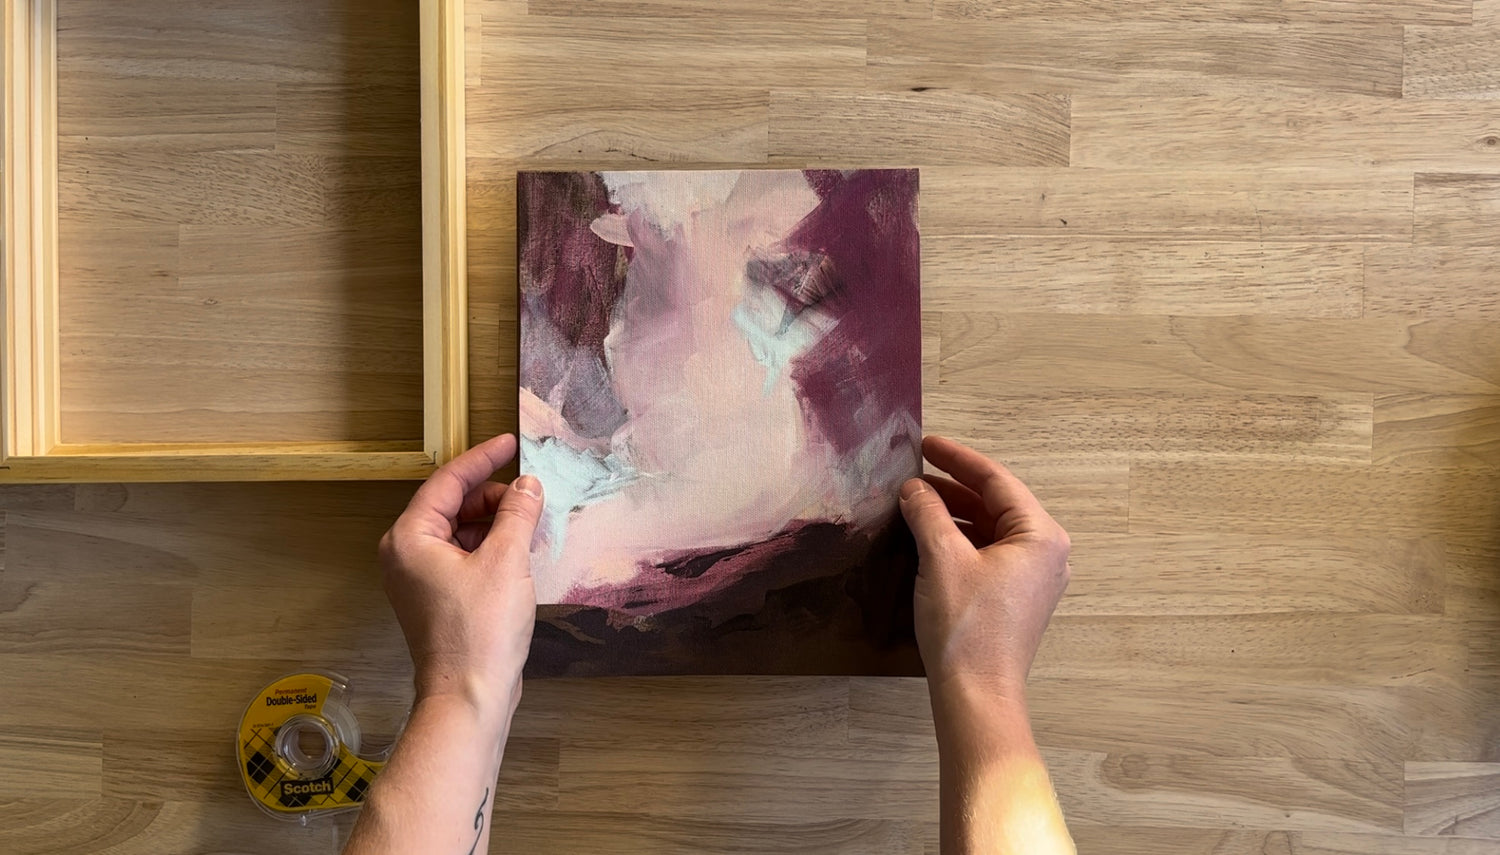
Step 4
Carefully align the print on the backing board. Don't press it down when doing this. You should be able to move it around as needed until it's properly aligned.
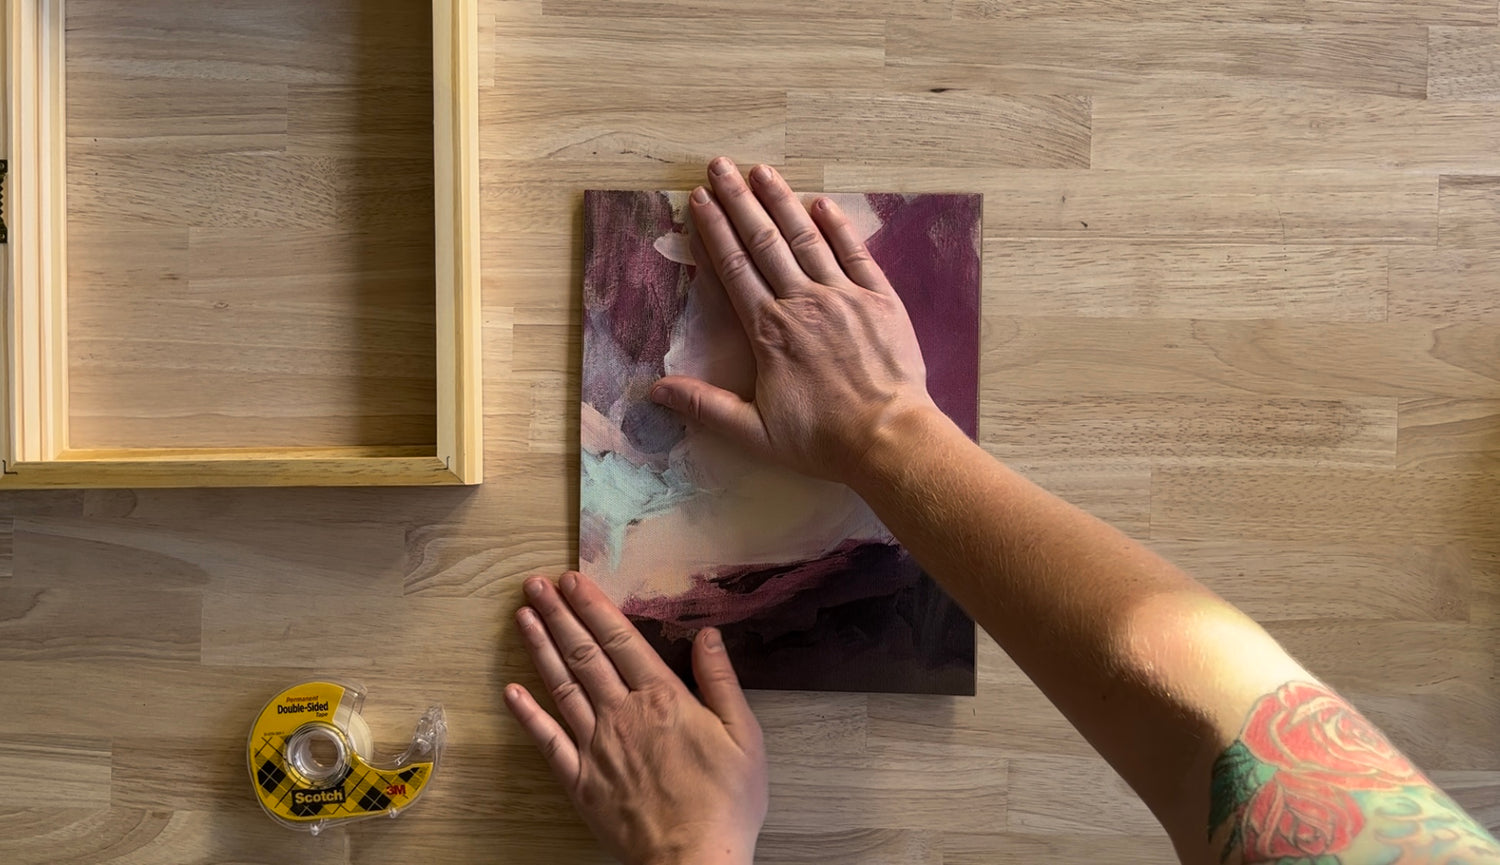
Step 5
Working from the middle outward, push the print firmly onto the backing board and smooth it out. Ensure your hands are clean or use a soft cloth!
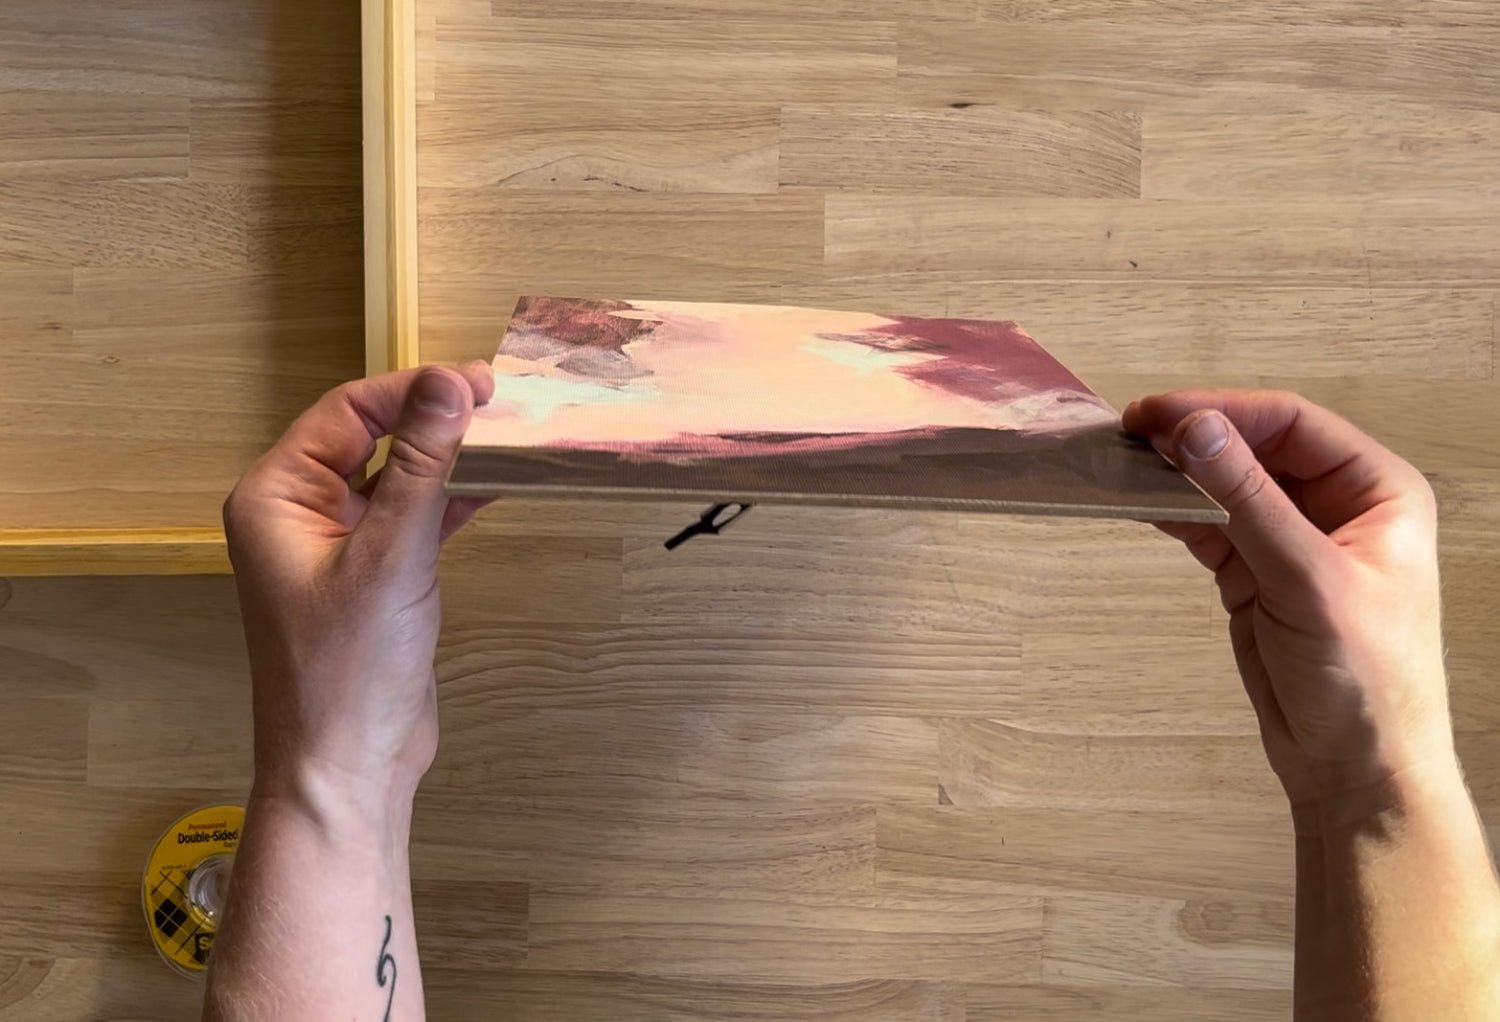
Step 6
Ensure that the print covers the backing board but does not go past the edges of the backing board.
If the print goes past the edges of the backing board, even slightly, carefully trim off that excess. If you skip this step, it could cause the print to "bubble" because the edge of the frame will push on the edge of the print, rather than the edge of the backing board once you put the frame together.
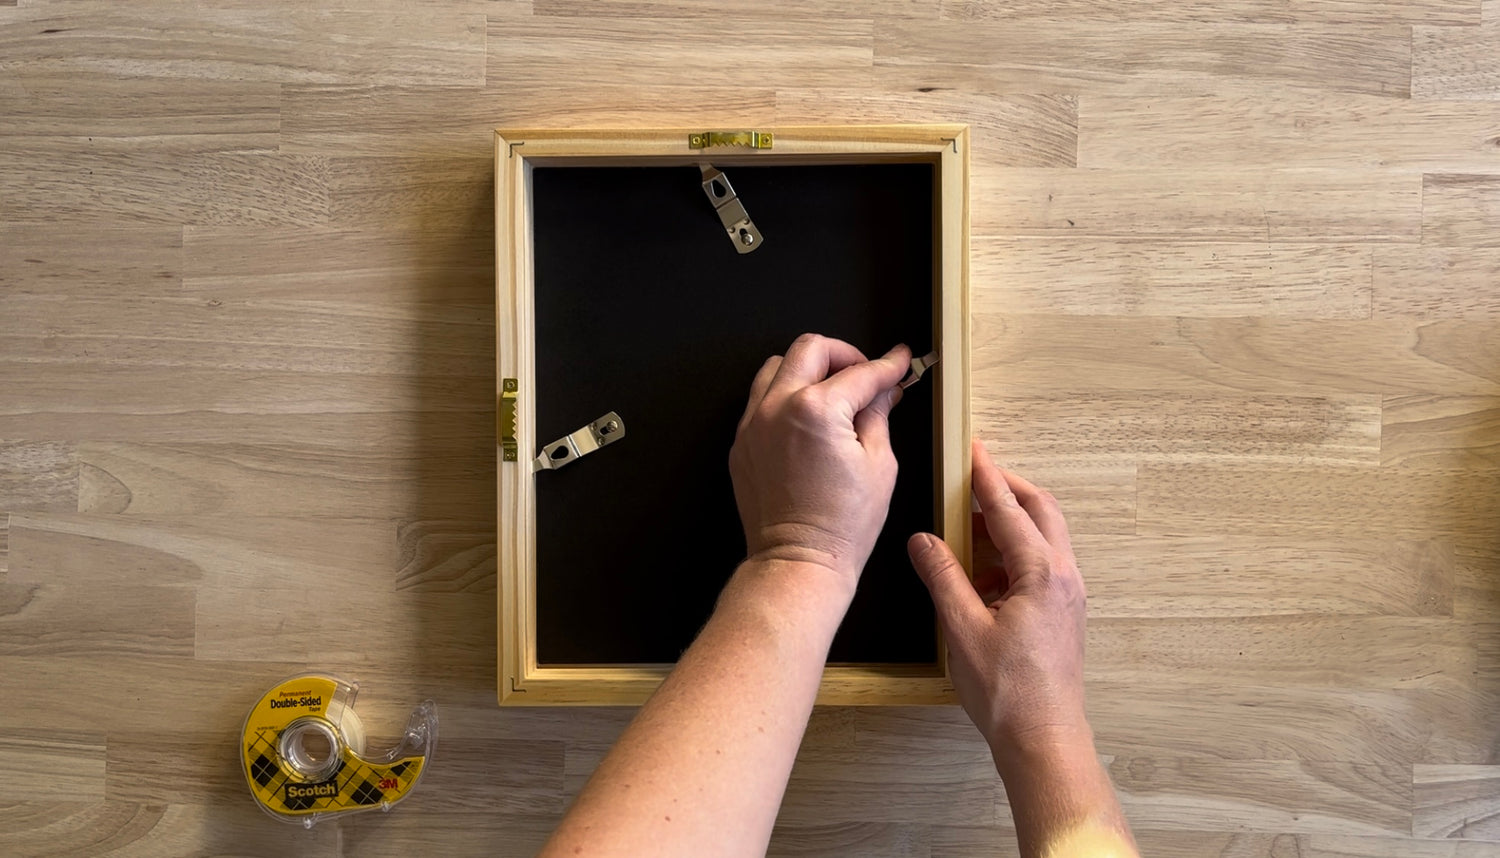
Step 7
Replace the backing board with the adhered print into the frame. Fasten the frame.
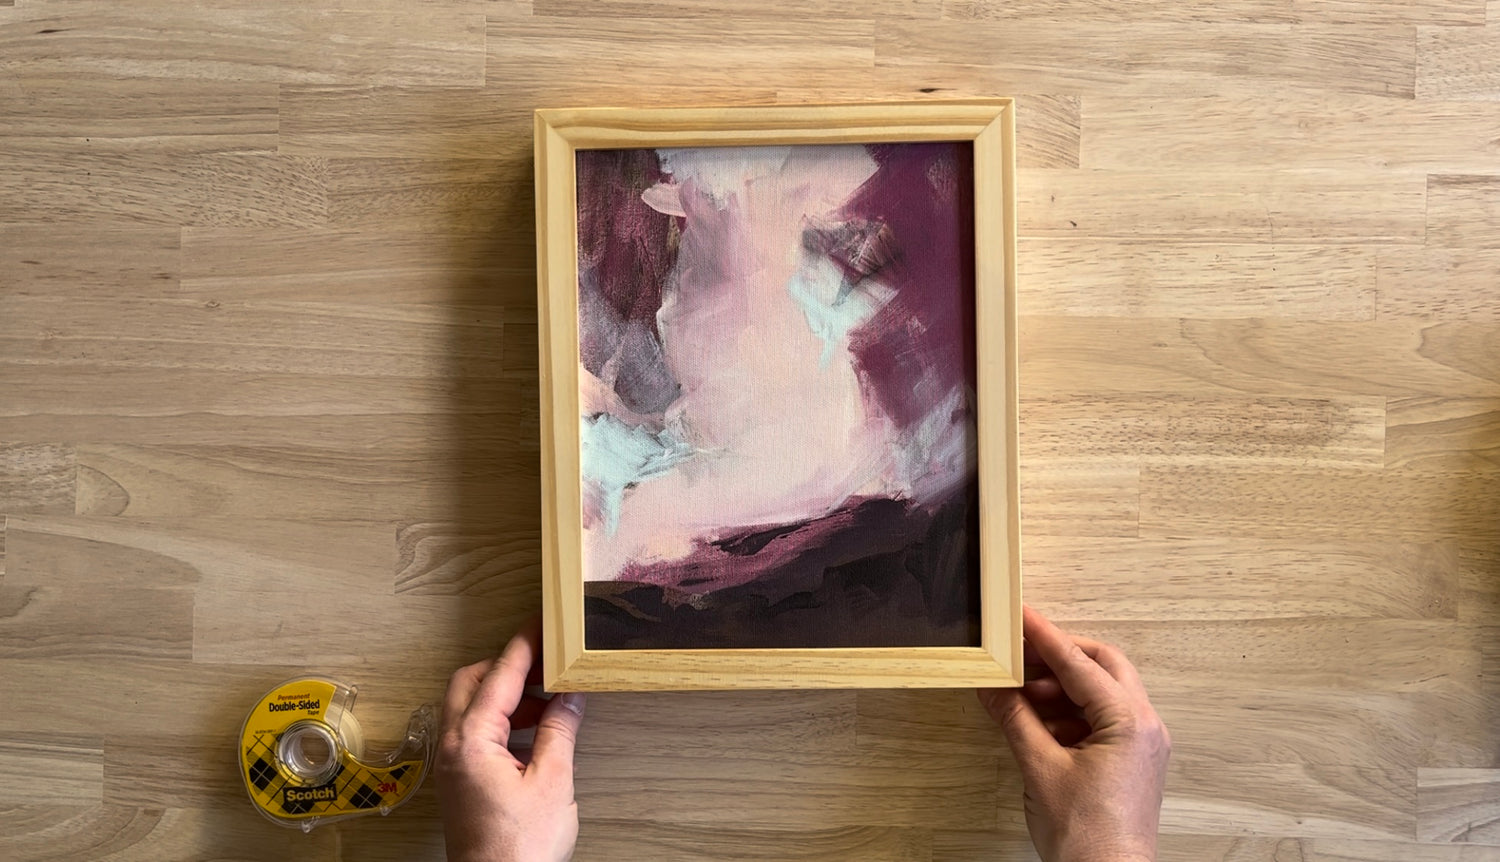
Step 8
Ta Da! You now have a framed canvas print!
